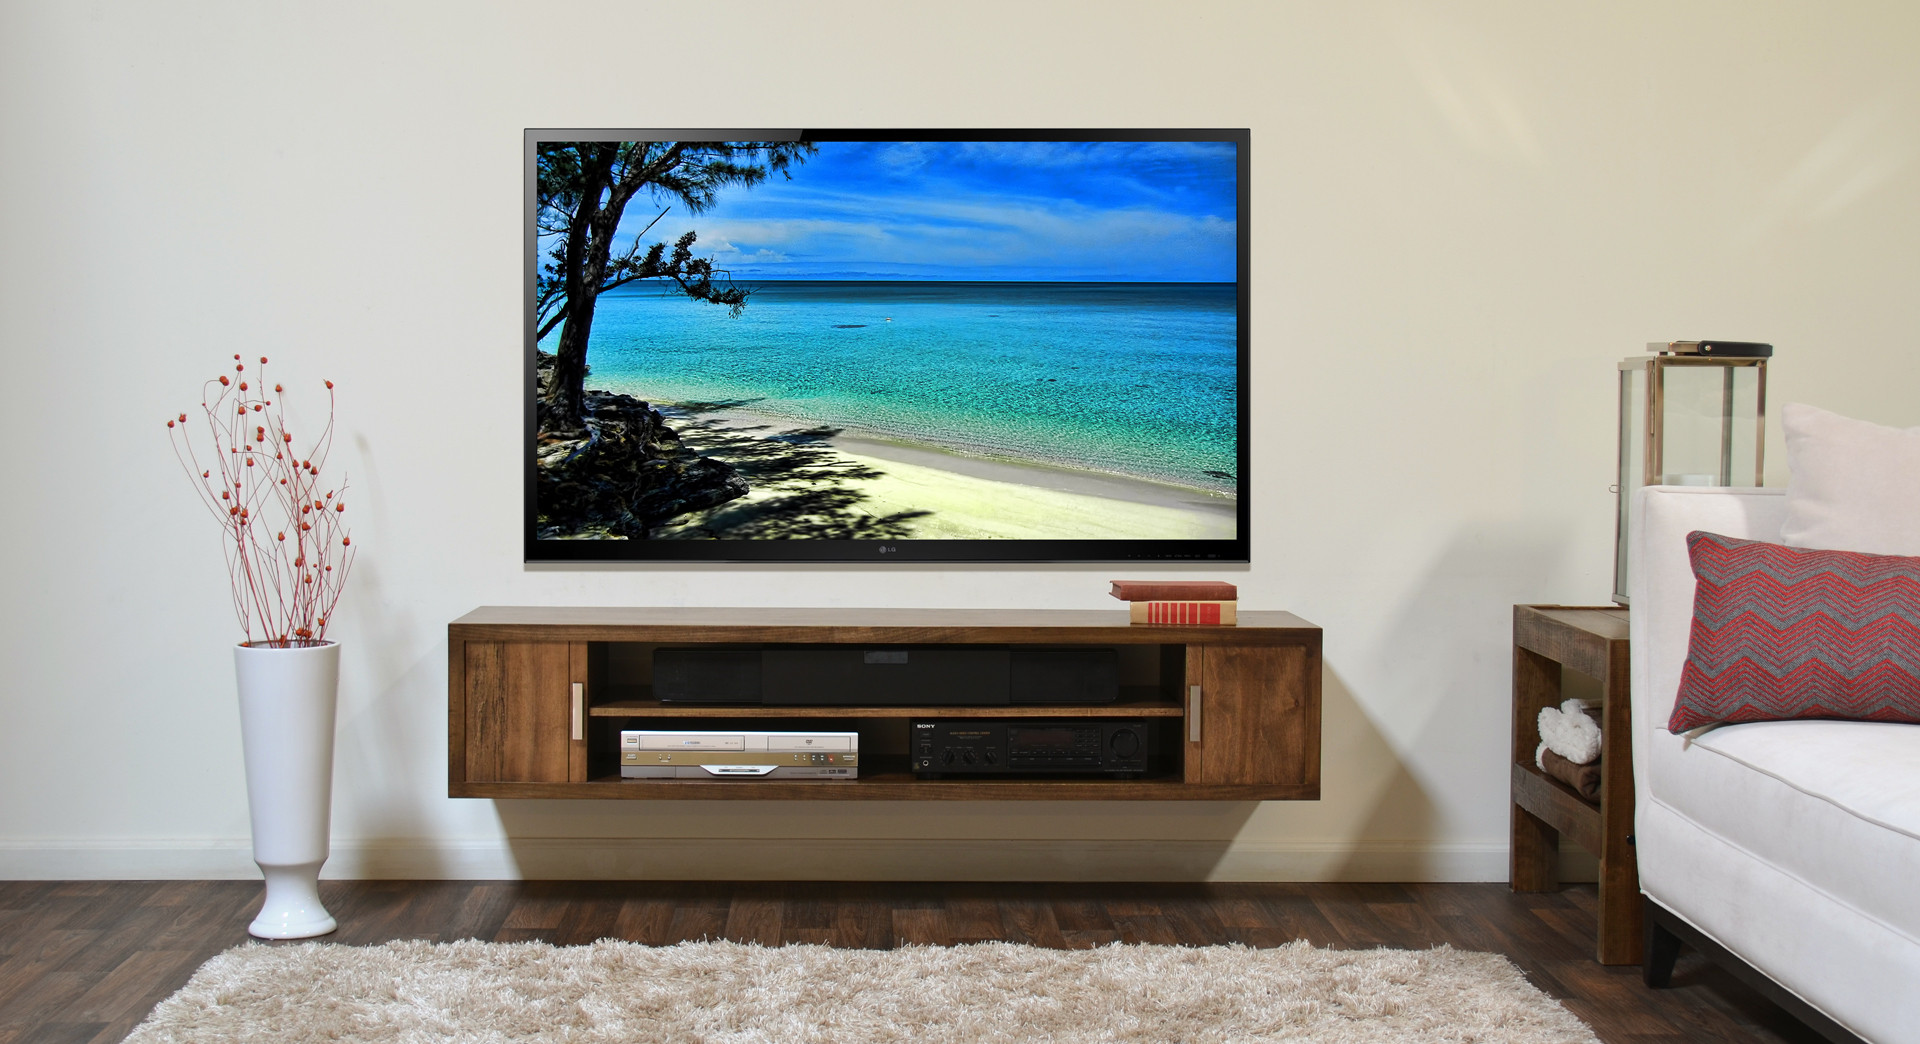
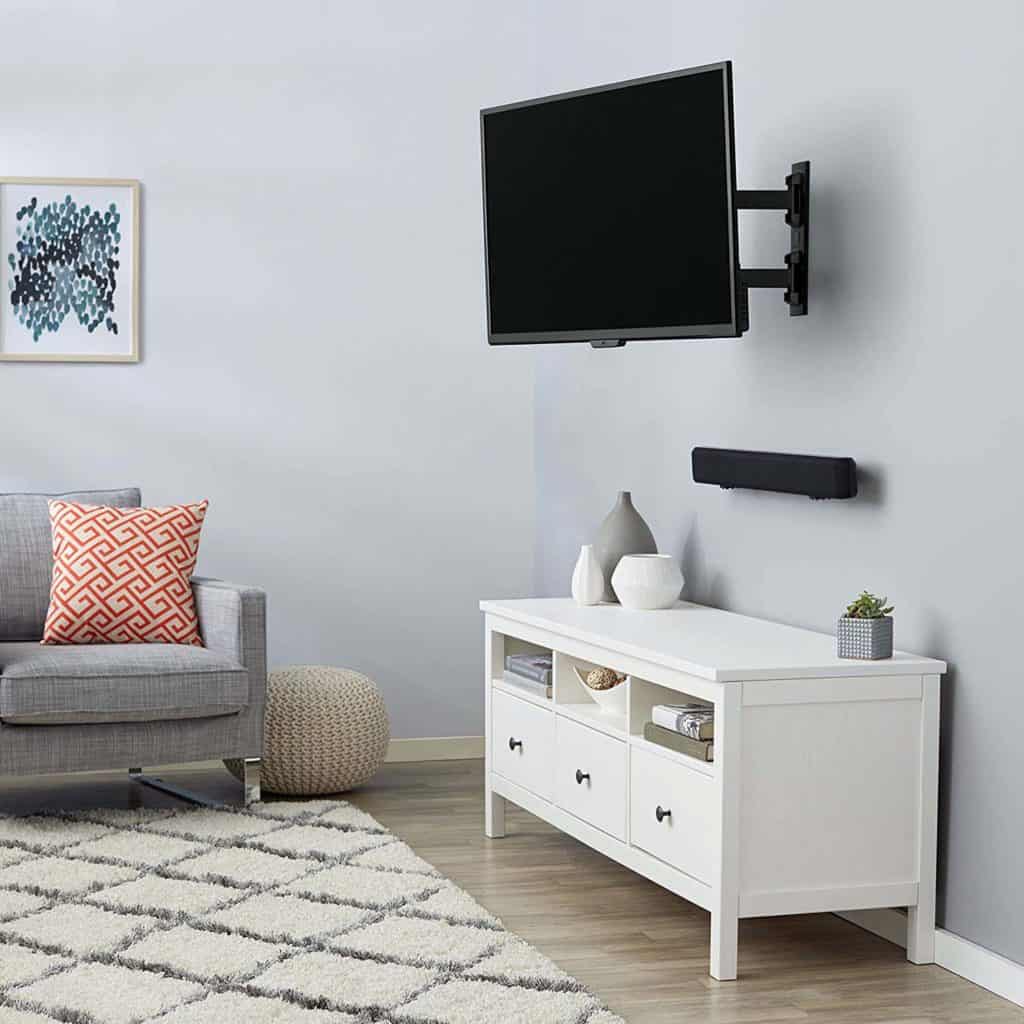
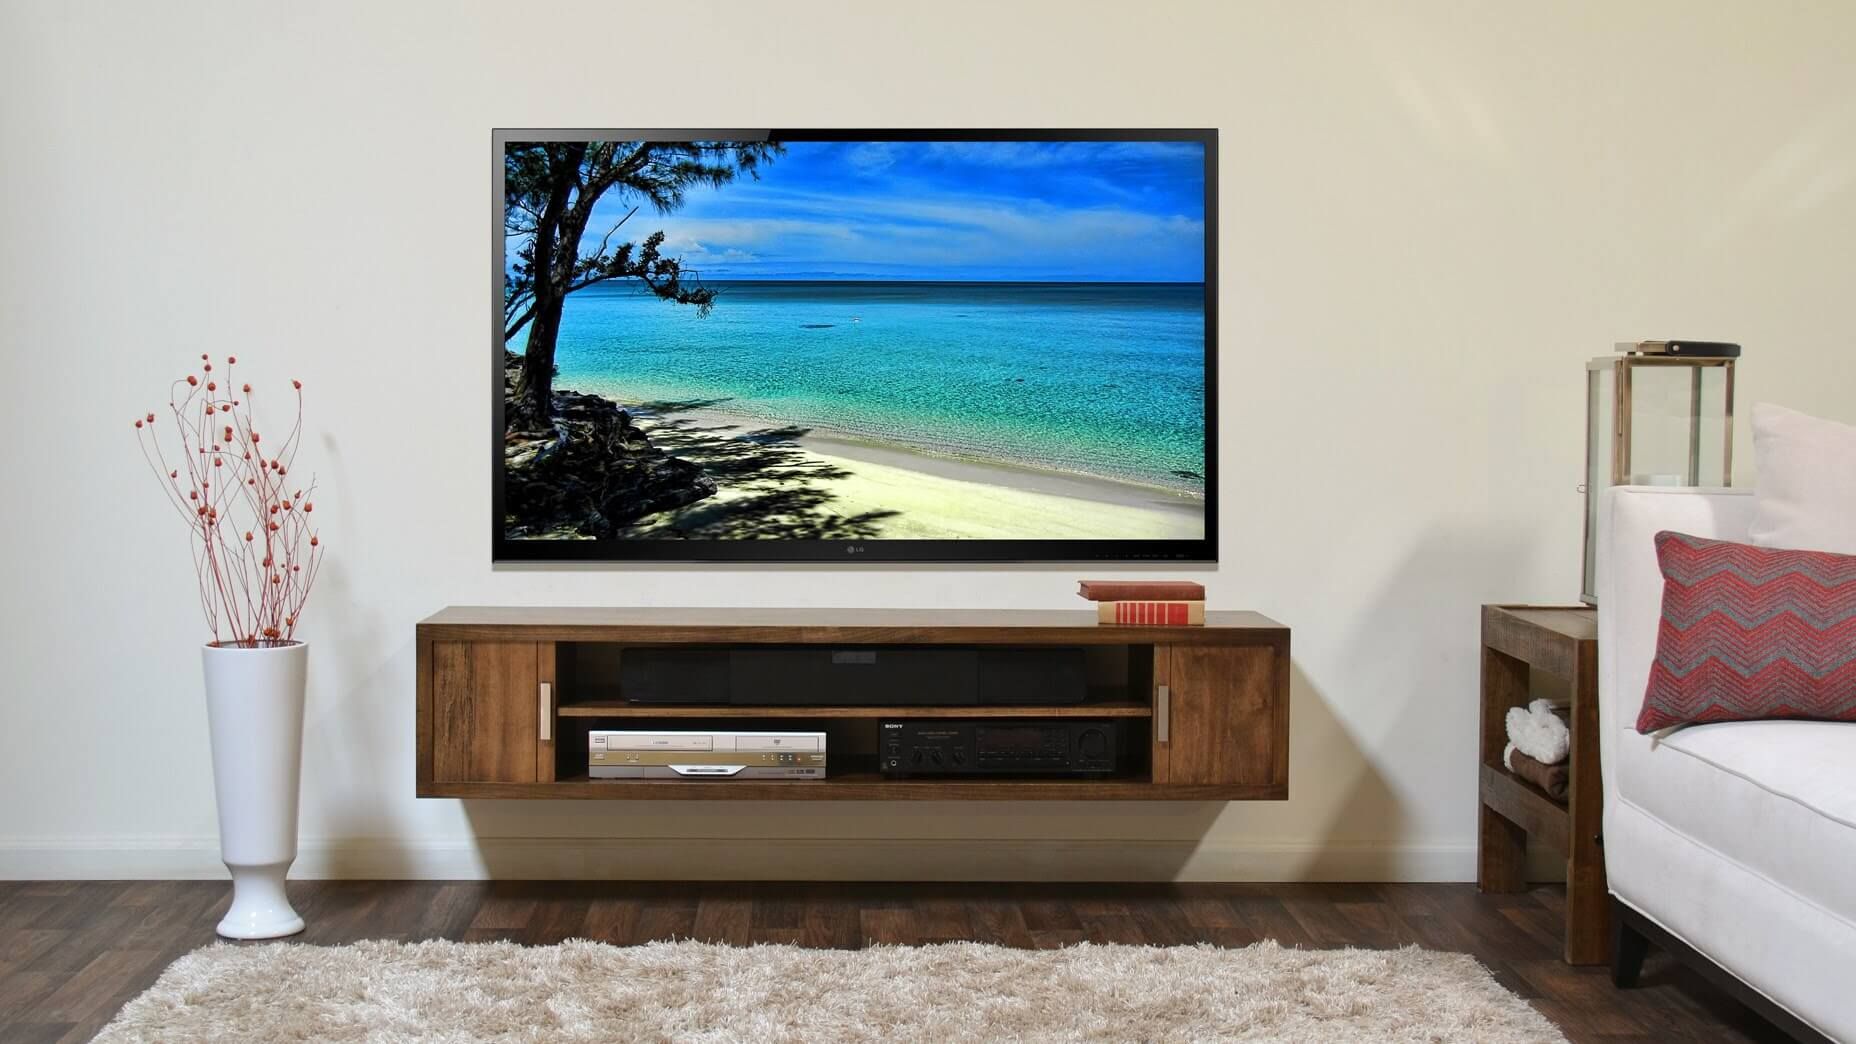
Planning and Design

Creating a DIY wall-mounted TV cabinet is a rewarding project that allows you to personalize your home entertainment setup. Before you start building, careful planning and design are essential to ensure a successful outcome. This section will guide you through the key considerations for planning and designing your TV cabinet.
Choosing the Right Size and Style
The size and style of your wall-mounted TV cabinet should complement your TV and the overall aesthetics of your room. Consider the following factors:
- TV Size: The cabinet should be wide enough to accommodate your TV and any accompanying equipment, such as a sound bar or gaming console. It should also be tall enough to provide sufficient clearance for the TV.
- Room Size: A large TV cabinet might overwhelm a small room, while a small cabinet might look disproportionate in a large space.
- Style: The style of your TV cabinet should match the decor of your room. Consider modern, minimalist, traditional, or rustic styles.
- Storage Needs: Determine how much storage you require for media devices, cables, and other items.
Measuring the Wall Space and Determining the Optimal Placement
Accurate measurements are crucial for ensuring that your TV cabinet fits perfectly on the wall and is positioned at the right height.
- Measure the Wall Space: Measure the width and height of the wall space where you plan to install the cabinet.
- Consider the TV’s Height: The TV should be positioned at eye level for optimal viewing. Use a tape measure to mark the ideal height on the wall, ensuring that it is high enough to comfortably view the screen while sitting or standing.
- Check for Obstacles: Ensure there are no electrical outlets, pipes, or other obstacles in the chosen location.
- Use a Level: A level is essential for ensuring that the cabinet is installed straight and even.
Creating a Design Plan
A well-thought-out design plan will help you visualize the final product and ensure that you have all the necessary materials and tools.
- Sketch or Use Online Tools: Sketch a basic design of your TV cabinet on paper or use online design tools like SketchUp or RoomSketcher. This will help you visualize the dimensions, layout, and features of the cabinet.
- Determine the Materials: Decide on the materials you want to use for the cabinet. Consider factors like durability, aesthetics, and budget.
- Plan the Storage: Determine the type and number of shelves, drawers, or compartments you need for your storage requirements.
- Choose the Finish: Select a finish for the cabinet, such as paint, stain, or veneer.
Materials for Building a DIY Wall-Mounted TV Cabinet
A wide range of materials can be used for building a DIY wall-mounted TV cabinet. The choice depends on your design, budget, and desired aesthetic.
- Wood: Wood is a popular choice for TV cabinets due to its durability, versatility, and aesthetic appeal. Common wood choices include plywood, MDF, pine, oak, and cherry.
- Metal: Metal, such as steel or aluminum, can be used for a modern and industrial look. It is strong and durable but can be more challenging to work with than wood.
- Glass: Glass shelves or doors can add a sleek and contemporary look to your TV cabinet. However, glass is fragile and requires careful handling.
- Plastic: Plastic can be a budget-friendly option, but it may not be as durable as wood or metal.
Tools and Equipment
The specific tools and equipment needed for building a DIY wall-mounted TV cabinet will vary depending on the design and materials you choose. However, some essential tools include:
- Saws: A circular saw, jigsaw, or hand saw for cutting wood or other materials.
- Drills: A drill with various drill bits for creating holes for screws, hinges, and other hardware.
- Measuring Tools: A tape measure, ruler, and level for accurate measurements and alignment.
- Screwdrivers: Phillips head and flat head screwdrivers for attaching hardware.
- Clamps: For holding pieces of wood together while assembling the cabinet.
- Safety Gear: Eye protection, gloves, and dust masks are essential for safety during the construction process.
Building the Cabinet

With your design in hand, you are ready to start building your DIY wall-mounted TV cabinet. This section will guide you through the process of cutting, assembling, and finishing the cabinet frame, along with attaching mounting brackets and adding shelves, doors, and other desired features.
Cutting and Assembling the Cabinet Frame, Diy wall mounted tv cabinet
Cutting and assembling the cabinet frame is the foundation of your project. You will need to accurately cut the wood pieces to the desired dimensions and then assemble them using joinery techniques such as pocket holes, dowels, or biscuits.
- Cutting the Wood Pieces: Using a saw, cut the wood pieces to the dimensions specified in your design. Make sure to use a measuring tape and a straight edge to ensure accuracy. Use a miter saw for precise angled cuts.
- Creating Pocket Holes: If you are using pocket holes, use a pocket hole jig to drill holes at the ends of the wood pieces. This will allow you to join the pieces using screws, creating a strong and concealed joint.
- Assembling the Frame: Once all the pieces are cut, assemble the frame using screws, glue, or dowels. Use clamps to hold the pieces in place while the glue dries. Ensure all corners are square and the frame is stable.
Attaching Mounting Brackets
Mounting brackets are essential for securely attaching the cabinet to the wall. They should be strong enough to support the weight of the cabinet and the TV.
- Choosing Mounting Brackets: Select mounting brackets that are designed for the weight of your cabinet and TV. The brackets should be made of durable material, such as steel or aluminum.
- Attaching Brackets to the Cabinet: Attach the mounting brackets to the back of the cabinet using screws. Ensure the brackets are positioned correctly and are securely fastened.
- Attaching Brackets to the Wall: Mark the wall where you want to install the cabinet. Use a stud finder to locate wall studs and ensure the brackets are attached to the studs for maximum support. Drill pilot holes and install the mounting brackets to the wall using appropriate screws or anchors.
Adding Shelves, Doors, and Other Features
Once the cabinet frame is assembled and the mounting brackets are attached, you can start adding shelves, doors, and other features.
- Installing Shelves: Measure and cut shelf boards to the desired size. Attach the shelves to the cabinet frame using shelf supports or brackets. Ensure the shelves are level and securely attached.
- Adding Doors: If you are incorporating doors, select door hinges and handles. Attach the hinges to the cabinet frame and doors. Make sure the doors open and close smoothly and are aligned correctly.
- Other Features: You can add other features to your cabinet, such as drawers, cable management systems, or lighting. Consider your needs and preferences when designing these features.
Finishing the Cabinet
The final step is to finish the cabinet with paint, stain, or other decorative techniques to create a clean and professional look.
- Preparing the Surface: Before applying any finish, sand the cabinet frame and other components to create a smooth surface. Clean the surface with a damp cloth to remove dust and debris.
- Applying Paint or Stain: Apply paint or stain using a brush, roller, or spray gun. Ensure even coverage and follow the manufacturer’s instructions for drying time. Multiple coats may be required for optimal coverage and durability.
- Adding Decorative Touches: Consider adding decorative touches, such as stencils, molding, or hardware, to enhance the look of your cabinet. Ensure these additions are compatible with the chosen paint or stain.
Installation and Finishing Touches: Diy Wall Mounted Tv Cabinet

With your DIY TV cabinet built, it’s time to bring it to life. This section focuses on the crucial steps of installing your cabinet securely, managing cables neatly, and adding finishing touches to personalize your creation.
Securing the Cabinet to the Wall
The stability of your wall-mounted TV cabinet is paramount. Here’s a step-by-step guide for safe and secure installation:
- Determine the Mounting Location: Choose a wall location that is sturdy enough to support the weight of your cabinet and TV. Avoid mounting on drywall alone, as it may not be strong enough. Consider using a stud finder to locate wall studs for optimal support.
- Mark the Mounting Points: Once you’ve chosen your location, use a level to mark the exact position for the mounting brackets on the wall. Ensure the markings are precise to guarantee a straight and level installation.
- Install the Mounting Brackets: Drill pilot holes at the marked points, using appropriate drill bits for your wall material. Secure the mounting brackets to the wall using screws that are long enough to penetrate the wall studs for maximum strength.
- Attach the Cabinet to the Brackets: Carefully lift and position the cabinet onto the mounting brackets. Align the cabinet with the brackets and secure it using the provided hardware. Make sure the cabinet is level and securely attached before proceeding.
Managing Cables and Wires
Keeping your cables organized and hidden is essential for a clean and clutter-free look.
- Cable Management System: Consider using cable ties, zip ties, or a dedicated cable management system to bundle and organize the cables. This helps to keep them tidy and prevents tangling.
- Concealed Wiring: If possible, run cables through the wall or behind the cabinet to conceal them from view. For a seamless appearance, use wall plates or covers to hide the cables where they enter the wall.
- Cable Access Points: Designate specific access points on the cabinet for cables, allowing you to easily connect and disconnect devices without having to remove the cabinet from the wall.
Adding Finishing Touches
Personalize your TV cabinet with decorative elements and functional accessories to create a unique and stylish focal point in your space.
- Lighting: Install LED strip lights behind the cabinet or inside the shelves to highlight your TV and create a dramatic ambiance. Consider using dimmers to adjust the brightness and create different moods.
- Accessories: Add shelves, drawers, or doors to provide additional storage space for media equipment, books, or decorative items. Consider using glass shelves for a modern look or wood shelves for a classic touch.
- Decorative Elements: Incorporate decorative elements like wallpaper, paint, or trim to enhance the aesthetic appeal of the cabinet. You can also add accent pieces, such as artwork or plants, to complement the overall design.
Safety Precautions
It’s crucial to prioritize safety during the installation process.
- Wear Safety Glasses: Protect your eyes from debris during drilling and screwing.
- Use a Ladder Safely: Ensure the ladder is stable and positioned correctly before climbing. Always have someone hold the ladder for added stability.
- Proper Lifting Techniques: Use proper lifting techniques to avoid strain or injury. If the cabinet is heavy, enlist help from another person to lift and position it.
- Disconnect Power: Always disconnect the power to the TV and any other connected devices before working on the installation. This prevents electric shock and ensures safety.
Diy wall mounted tv cabinet – Yo, DIYing a wall-mounted TV cabinet is all about maximizing space and making your setup look fly. If you’re tight on floor space, a tall skinny TV cabinet is the way to go. It’s like a vertical storage solution for your entertainment center, giving you room for all your tech and still keeping things clean and sleek.
So, get your tools ready, and let’s build a killer TV setup that’s both functional and stylish.
Yo, building a DIY wall-mounted TV cabinet is all about that sleek look, right? And what’s more stylish than art deco? Check out these art deco ideas for bedroom to get some inspiration for your cabinet’s design. Think geometric patterns, metallic accents, and a touch of glam.
Your TV setup will be the dopest in the crib, guaranteed.
